Quick Install & Set Up:
Notes:
1. Installation & Wiring
The WiFi switch must be installed at the live side in your 3-way circuit.
Hot live and neutral wires are required
2. Wi-Fi Pairing
we design a separate WiFi button as requested by some users. 2.4G WiFi is required
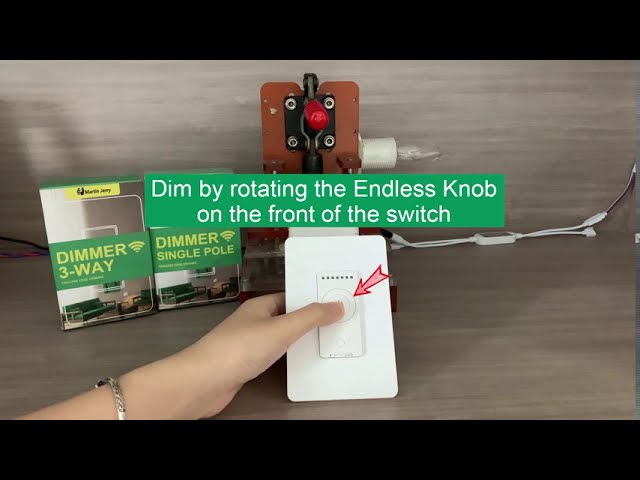
3. Adjust the lowest brightness
Use the calibration knob on the bottom to adjust the lowest brightness.
4. Turn on/off the night light
Press the night light button to change
Set Up Steps:
1. Wiring according to the User Manual;
2. Make sure it can manually control (If not, go back to step 1)
3. Download the App "SmartLife" and pair it with WiFi
(Press the WiFi button ONCE for Pairing Mode, indicators flash quickly)
4. Control by App when SmartPhone is under 4G (NOT WiFi)
5. Enable "Smartlife" skill on Alexa / Google Assistant
6. Use voice command to control it via Echo / Google Home


Specifications:
Rated Voltage: 120VAC
Frequency: 60Hz
Dimmer: LED (150W Max)
Voice Platform: Amazon Alexa, Google Assistant
How-To Videos
Home Assistant Tasmota Integration (HOW-TO)

1. Basic Function

2. Schedule - Dim Automatically

3. Schedule - Basic ON-OFF

4. Advanced Function - Calibration
5. Advanced Function - Memory

6.WiFi connection - EZ mode

7.WiFi connection - AP mode
